Gitlab仓库管理
约 250 字小于 1 分钟
Gitlab仓库管理
gitlab仓库管理
一、安装配置依赖项
sudo yum install curl openssh-server openssh-clients postfix cronie -y

sudo service postfix start

sudo chkconfig postfix on

sudo lokkit -s http -s ssh
二、添加GitLab仓库,并安装到服务器上
wget https://mirrors.tuna.tsinghua.edu.cn/gitlab-ce/yum/el6/gitlab-ce-10.1.4-ce.0.el6.x86_64.rpm
rpm -ivh gitlab-ce-XXX.rpm
启动gitlab:sudo gitlab-ctl reconfigure
如果访问 http:127.0.0.1:80 无法访问,然后用命令查看日志( gitlab-ctl tail #查看所有日志):gitlab-ctl tail 返现80端口被占用。
修改gitlab启动端口:
gitlab本身采用80端口,如安装前服务器有启用80,安装完访问会报错。需更改gitlab的默认端口。修改 vim /etc/gitlab/gitlab.rb:external_url 'http://10.211.55.8:90'
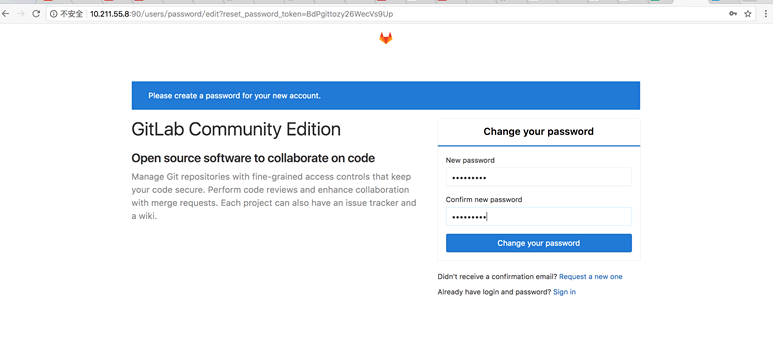
执行 sudo gitlab-ctl reconfigure 使之生效,访问如下:
管理员账户为root,密码首次登陆会让你自己更改。
gitlab-ctl start|stop|status|restart